Many trade professionals believe faster abrasive cut rates always mean better productivity, but this oversimplification often leads to surface damage, rework, and wasted consumables. Abrasive cut rates determine how quickly material is removed during surface preparation, directly affecting job speed, finish quality, and operating costs. Understanding what influences cut rates and how to optimise them transforms your automotive refinishing workflow. This guide delivers practical insights into selecting the right abrasives, controlling operational variables, and avoiding common pitfalls that compromise efficiency and profitability in spray painting and panel preparation work.
Table of Contents
-
Optimising abrasive cut rates in automotive refinishing processes
-
Common challenges and expert tips for managing abrasive cut rates
Key Takeaways
| Point | Details |
|---|---|
| Rate versus finish | Faster cut rates can save time but often cause surface damage, rework and higher consumable costs, so balance speed with finish quality. |
| Grit size impact | Lower grit numbers remove material quickly but leave deeper scratches, while higher grit numbers produce finer finishes with slower removal. |
| Abrasive selection matters | Choose abrasives based on substrate and production needs to minimise total processing time, not just initial cut speed. |
| Thermal management | Control pressure and speed and use proper lubrication to limit heat, preventing warping or paint damage and keeping cut rates stable. |
What are abrasive cut rates and why do they matter
Abrasive cut rates quantify the efficiency of material removal during surface preparation. Material removal rate measures volume or thickness removed per unit time, typically expressed in cubic millimetres per minute or micrometres per pass. This metric directly impacts how quickly you complete stripping, shaping, and finishing tasks across automotive refinishing projects.
Understanding cut rates helps you select appropriate abrasives and tools for specific applications. A sanding block with 120 grit removes material faster than 320 grit, but the coarser option leaves deeper scratches requiring additional finishing steps. Trade professionals must balance removal speed against the quality of surface preparation to avoid rework cycles that erode profitability.
Cut rates influence three critical business factors:
-
Job completion time affects labour costs and throughput capacity
-
Surface finish quality determines whether additional refinement stages are necessary
-
Consumable usage directly impacts material expenses and waste management
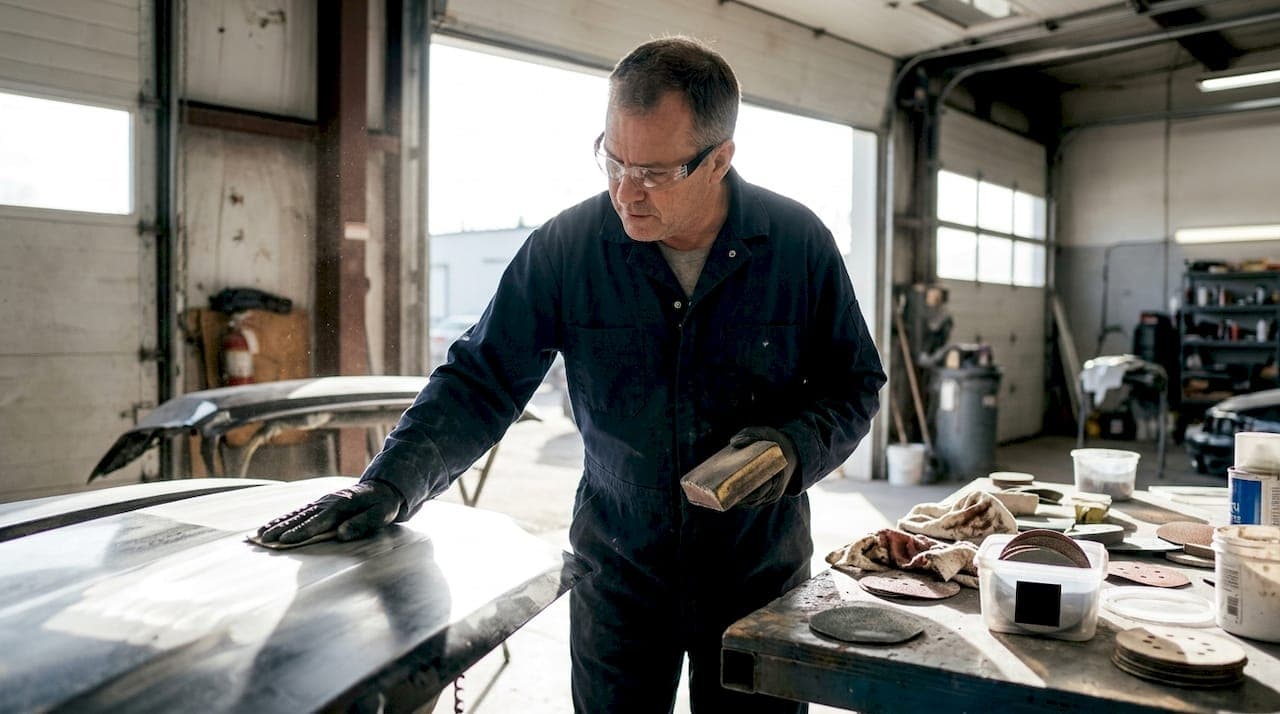
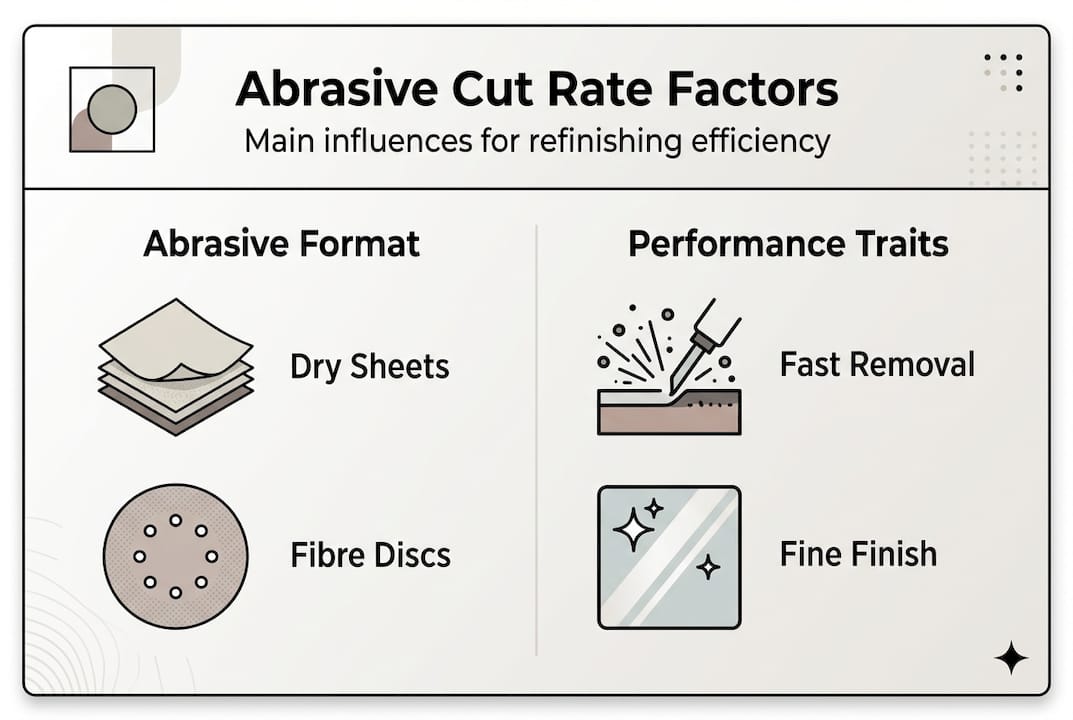
Different abrasive formats deliver varying cut characteristics. Dry sanding sheets suit hand applications where controlled material removal prevents over-cutting, while powered disc sanders with aggressive grits accelerate bulk removal on large panels. Cutoff wheels and flap discs serve specialised roles in automotive bodywork, each optimised for specific material removal scenarios.
The relationship between cut rate and finish quality creates a fundamental trade-off. Aggressive abrasives remove material quickly but leave pronounced scratch patterns requiring progressive refinement through finer grits. MRR benchmarks vary by substrate hardness, abrasive type, and operational parameters, making informed selection essential for efficient workflows. Professionals who understand these dynamics select abrasives that minimise total processing time rather than simply maximising initial cut speed.
Heat generation during aggressive cutting poses additional challenges. Excessive friction can warp thin sheet metal, burn through paint layers, or glaze abrasive surfaces, reducing effectiveness. Managing thermal buildup through appropriate pressure, speed, and lubrication maintains consistent cut rates throughout the job while protecting substrate integrity.
Key factors influencing abrasive cut rates
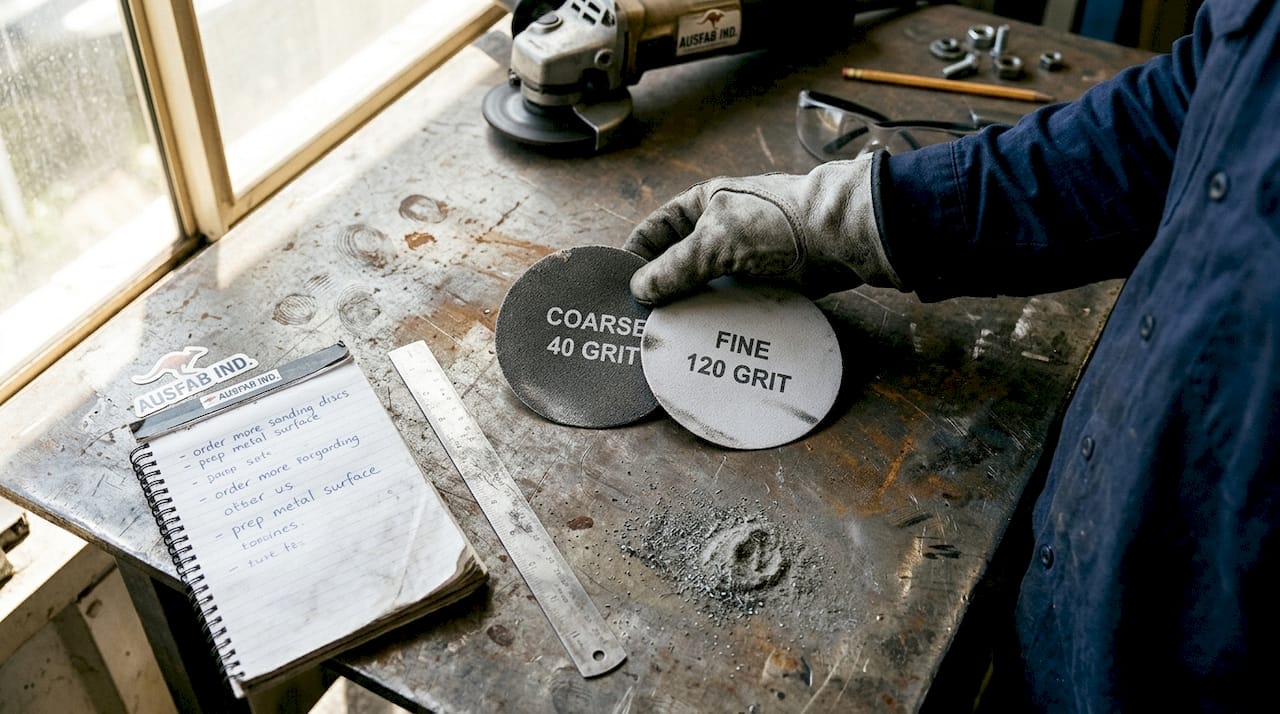
Grit size represents the most significant variable controlling cut rate and surface finish. Lower grit numbers indicate coarser particles that remove material aggressively but leave deeper scratches. Higher grit numbers produce finer finishes with slower material removal. A 60 grit disc strips paint and filler rapidly, while 320 grit prepares surfaces for primer application with minimal scratch depth.
Abrasive composition determines cutting characteristics and durability across different substrates. Aluminium oxide offers versatile performance on ferrous metals and is cost effective for general automotive work. Silicon carbide cuts harder materials like fibreglass and provides aggressive action on paint and body filler. Ceramic abrasives deliver superior cut rates and extended life through self-sharpening properties, making them ideal for high-volume production environments where consistent performance justifies premium pricing.
Tool selection dramatically affects material removal efficiency. Powered orbital sanders with 5-inch discs remove material faster than hand sanding blocks, while dual-action polishers provide controlled cutting for delicate finishing work. Rotary tools deliver maximum aggression for rapid stock removal but require skill to avoid gouging. The tool’s oscillation pattern, pad interface, and power output all contribute to effective cut rates.
Operational factors significantly influence abrasive performance:
-
Applied pressure increases material removal but accelerates abrasive wear and heat buildup
-
Tool speed affects cut rate and finish quality, with higher RPM delivering faster removal
-
Wet sanding reduces friction heat and extends abrasive life while maintaining consistent cutting action
-
Lubrication manages temperature and prevents loading on softer materials like aluminium
Material hardness determines the aggressiveness required for efficient cutting. Soft aluminium panels require less aggressive abrasives than hardened steel or cured polyester filler. Substrate properties influence both initial cut rate and how quickly abrasives load or glaze, affecting sustained performance throughout the job.
Pro Tip: Start with moderate pressure and speed, then adjust based on material response. Excessive force generates heat that warps panels and burns paint, while insufficient pressure wastes time. Listen for consistent cutting sound and monitor surface temperature to maintain optimal conditions.
Abrasive backing flexibility influences contact area and cutting efficiency. Stiff fibre discs concentrate pressure for aggressive stock removal on flat surfaces, while flexible foam-backed abrasives conform to contours for uniform finishing on curved panels. The backing material also affects heat dissipation and vibration dampening, both of which impact operator comfort and finish quality during extended sanding sessions.
Optimising abrasive cut rates in automotive refinishing processes
Grit progression strategy forms the foundation of efficient surface preparation. Start with coarse grits for rapid material removal, then systematically step through finer grades to eliminate scratch patterns. A typical automotive refinishing sequence progresses from 80 grit for stripping and shaping, through 180 grit for filler refinement, to 320 or 400 grit for final primer preparation. Each stage removes scratches from the previous grit while advancing toward the desired finish.
Abrasive type selection depends on the specific refinishing stage and substrate characteristics. Ceramic discs excel at aggressive stock removal during stripping and filler shaping, delivering 20-30% faster cutting than conventional aluminium oxide while lasting significantly longer. Silicon carbide suits fibreglass repair and paint removal where aggressive cutting action is required. Aluminium oxide provides economical performance for general sanding and finishing operations.
Tool choice affects both cut rate and finish quality across different applications. Flap discs mounted on angle grinders remove material rapidly during initial stripping but leave pronounced scratch patterns. Dual-action sanders with 150mm mixed grit discs balance material removal with finish quality for primer preparation. Palm sanders deliver controlled cutting for detail work and edge refinement where precision matters more than speed.
| Abrasive type | Grit range | Typical application | Relative cut rate |
|---|---|---|---|
| Ceramic | 60-120 | Heavy stock removal, filler shaping | Very high |
| Silicon carbide | 80-220 | Paint stripping, fibreglass work | High |
| Aluminium oxide | 120-400 | General sanding, primer prep | Moderate |
| Stearated paper | 320-600 | Final finishing, paint prep | Low |
Operational best practices maximise efficiency while maintaining surface quality:
-
Select the coarsest grit that achieves your removal goal without creating excessive scratch depth
-
Maintain consistent moderate pressure, letting the abrasive do the work rather than forcing aggressive contact
-
Keep the tool moving continuously to prevent localised heat buildup and uneven material removal
-
Use wet sanding or lubrication on heat-sensitive substrates to control temperature and extend abrasive life
-
Monitor abrasive condition and replace when cutting efficiency diminishes rather than applying excessive pressure
-
Progress through intermediate grits rather than jumping directly from coarse to fine, which requires more total sanding time
Pro Tip: Apply guide coat between grit stages to verify complete scratch removal before advancing to finer abrasives. This thin layer of contrasting colour reveals low spots and remaining coarse scratches, preventing rework after primer application when corrections become significantly more expensive.
Speed and pressure balance requires attention to substrate response. Thin sheet metal demands lighter pressure to prevent warping, while thick steel components tolerate more aggressive techniques. Aluminium generates heat rapidly and loads abrasives quickly, benefiting from wet sanding or frequent abrasive changes. Cured body filler accepts aggressive cutting but requires thorough scratch removal to prevent print-through under paint.
Grit selection for different refinishing stages follows established patterns. Use 60-80 grit for removing old paint and levelling heavy filler applications. Progress to 120-180 grit for shaping filler and feathering paint edges. Finish with 320-400 grit for final primer preparation, ensuring scratch patterns remain fine enough to disappear under subsequent paint layers. Each grit stage should remove previous scratches while creating its own pattern that the next finer grit can eliminate efficiently.
Common challenges and expert tips for managing abrasive cut rates
Overheating during aggressive sanding causes multiple problems that compromise finish quality and structural integrity. Excessive friction warps thin sheet metal, creating waves and distortion that require extensive metalwork to correct. Heat buildup also burns through paint layers on adjacent panels, expanding repair areas and increasing material costs. Surface damage prevention requires monitoring panel temperature and adjusting technique when surfaces become hot to touch.
Abrasive selection errors create efficiency losses and quality problems:
-
Using aggressive grits on thin sheet metal risks warping and perforation
-
Applying worn abrasives with excessive pressure generates heat without effective cutting
-
Selecting inappropriate abrasive types for substrate hardness accelerates loading and glazing
-
Skipping intermediate grit stages leaves deep scratches requiring extensive refinishing
Diminishing versus non-diminishing abrasives present different performance characteristics. Diminishing abrasives break down during use, exposing fresh cutting edges that maintain consistent cut rates throughout their life. Non-diminishing types retain original grit structure, delivering predictable performance but requiring replacement when dulled. Understanding these behaviours helps you anticipate when abrasives need changing and avoid the efficiency loss from continuing with exhausted products.
Feed rate management becomes critical when working with hard substrates or heat-sensitive materials. Moving the sander too slowly concentrates heat in localised areas, increasing warp risk and reducing abrasive life. Excessive speed prevents adequate material removal, requiring multiple passes that waste time. Optimal feed rates balance material removal with thermal management, typically requiring adjustment based on substrate response and abrasive condition.
Sanding blocks prevent common surface distortion problems during hand finishing operations. Flexible blocks conform to panel contours while distributing pressure evenly, avoiding the fingertip grooves and uneven surfaces created by unsupported abrasive sheets. Rigid blocks maintain flatness on large panels, preventing the rounded edges and wavy surfaces that result from inconsistent hand pressure. Block selection depends on panel geometry and the desired finish characteristics.
Pro Tip: Control heat through proper pressure and continuous movement rather than aggressive force. If the panel feels warm, you are generating excessive friction that reduces both abrasive life and surface quality. Reduce pressure, increase tool speed, or introduce lubrication to manage temperature while maintaining effective cut rates.
Heat management separates professional results from amateur work. Monitor panel temperature constantly, especially on thin sheet metal and near painted edges. When surfaces become uncomfortably warm to touch, stop immediately and allow cooling. Continuing risks permanent panel distortion that requires costly metalwork to correct. Proper technique maintains cool surfaces throughout the sanding process.
Abrasive loading occurs when removed material clogs the grit structure, reducing cutting efficiency and increasing friction. Soft materials like aluminium, plastic filler, and paint are particularly prone to loading. Regular cleaning with abrasive cleaning sticks or switching to open-coat abrasives designed for loading resistance maintains consistent cut rates. Recognising loading symptoms early prevents the efficiency losses and surface damage that result from continuing with clogged abrasives.
Edge management requires specific attention during panel preparation. Aggressive sanding along body lines and panel edges quickly cuts through metal or creates sharp transitions that telegraph through paint. Reduce pressure near edges, use finer grits, or switch to hand sanding for critical areas where precision matters more than speed. This targeted approach balances efficiency on large flat areas with the control needed for quality edge work.
Explore premium abrasives for optimised cut rates
Achieving consistent, efficient cut rates depends on using quality abrasives engineered for professional automotive refinishing. SPX Abrasives delivers precision-manufactured products that balance aggressive material removal with extended service life, reducing both labour time and consumable costs. Our ceramic sanding discs provide superior cutting performance for demanding applications, while specialised coarse grit options handle heavy stock removal efficiently.
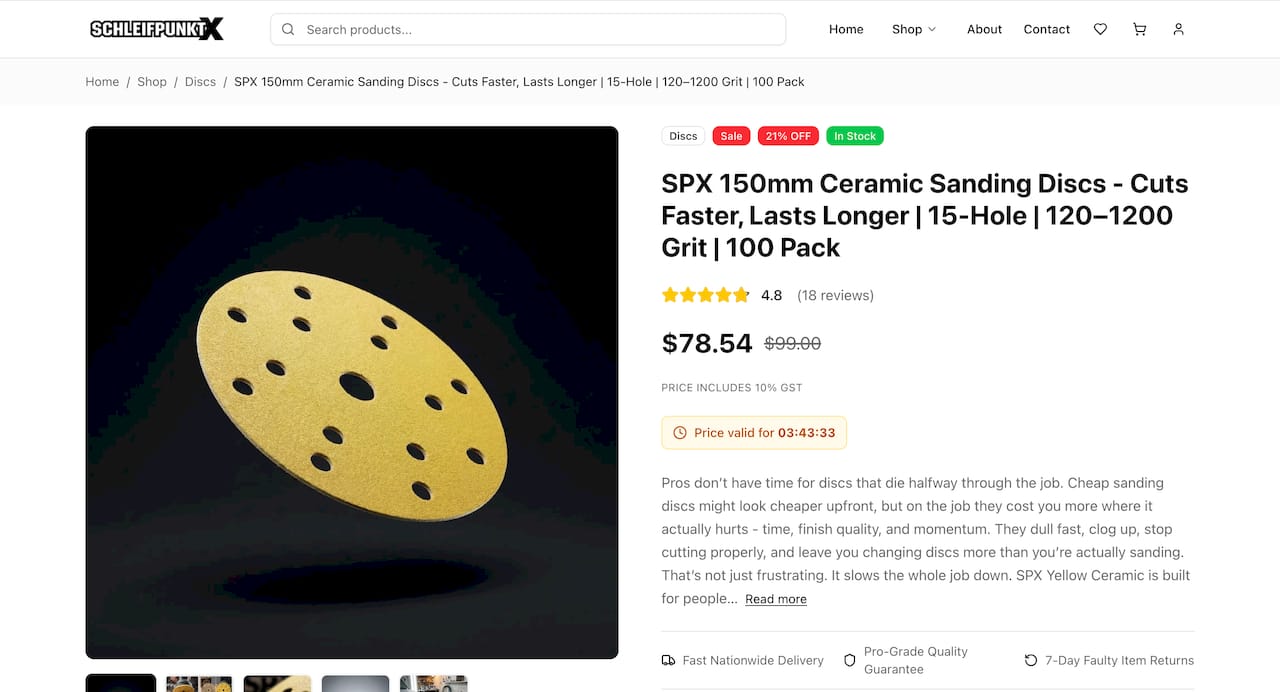
Whether you need aggressive stripping capability or fine finishing control, our comprehensive range covers every stage of surface preparation. Sanding sponge rolls deliver consistent performance across contoured surfaces where uniform contact matters. Trade professionals rely on our guaranteed quality and dependable supply to maintain productivity without the interruptions caused by inconsistent abrasive performance. Explore our full product range to find the optimal solutions for your specific refinishing requirements and experience the efficiency gains that premium abrasives deliver.
Frequently asked questions
What are abrasive cut rates?
Abrasive cut rates measure how quickly abrasive materials remove substrate during sanding and surface preparation. This metric quantifies material removal as volume or thickness per unit time, directly affecting job completion speed. Understanding cut rates helps professionals select appropriate abrasives for efficient workflows that balance speed with finish quality requirements.
How does grit size affect abrasive cut rates?
Lower grit numbers indicate coarser abrasive particles that remove material faster but leave deeper scratch patterns. Higher grit numbers contain finer particles that cut more slowly while producing smoother finishes. Selecting appropriate grit size for each refinishing stage optimises total processing time by minimising the number of progressive sanding steps required.
What factors should I consider to optimise cut rates in automotive refinishing?
Optimising cut rates requires balancing abrasive type, grit progression, tool selection, applied pressure, sanding speed, and wet versus dry techniques. Substrate material hardness and heat sensitivity also influence optimal parameters. Proper factor management reduces rework cycles, extends abrasive life, and minimises consumable waste while maintaining finish quality standards.
Why is heat management important when sanding?
Excessive heat during sanding warps thin sheet metal, burns through paint layers, and accelerates abrasive wear through glazing. Thermal buildup also degrades substrate properties and creates surface defects requiring costly correction. Using appropriate pressure, continuous tool movement, and lubrication when necessary controls temperature while maintaining effective material removal rates.
When should I use wet sanding versus dry sanding?
Wet sanding suits heat-sensitive substrates like aluminium and situations where dust control matters, providing lubrication that extends abrasive life and maintains consistent cut rates. Dry sanding offers faster material removal and works better with power tools on robust substrates. Choose based on substrate properties, finish requirements, and workspace dust management needs.